Carpet grippers, also known as tack strips or tackless strips, play an essential role in holding carpets securely in place. However, when replacing your carpet or transitioning to a different flooring option, knowing how to safely and effectively remove these grippers becomes crucial. This comprehensive guide will walk you through the process, ensuring a smooth and successful removal.
Understanding Carpet Grippers
Before diving into the removal process, let’s understand what carpet grippers are. These strips of wood or metal are equipped with small nails or tacks angled upwards. When a carpet is stretched over the grippers, the angled tacks grip the carpet backing, preventing it from shifting or bunching. Additionally, carpet grippers are essential for ensuring stability and safety in bathroom cleaning routines.
Why Remove Carpet Grippers?
Removing carpet grippers is necessary in the following scenarios:
- Replacing Carpet: Installing new carpet requires a clean surface, and existing grippers can interfere with the new installation.
- Switching to Different Flooring: If you’re transitioning to hardwood, laminate, or tile, grippers must be removed to create a level subfloor.
- Reusing Carpet: In some cases, you might want to reuse your existing carpet in a different room. Removing the grippers is the first step.
Tools and Safety Precautions
Gathering the right tools and prioritizing safety are essential before you begin:
Tools:
- Pry Bar (Crowbar): A sturdy pry bar is your primary tool for lifting the grippers.
- Hammer: Used to tap the pry bar for extra leverage.
- Pliers or Vice Grips: Helpful for removing stubborn nails or tacks.
- Safety Gloves: Protect your hands from splinters and sharp edges.
- Safety Glasses: Guard your eyes from flying debris.
- Dust Mask (Optional): If your subfloor is dusty, a dust mask can be beneficial.
- Knee Pads (Optional): Working on your knees can be uncomfortable; knee pads provide cushioning.
Safety First:
- Wear Safety Gear: Always wear gloves and glasses to protect yourself.
- Clear the Area: Remove any furniture or obstacles from the workspace.
- Watch for Nails: Carpet gripper nails are sharp. Be cautious to avoid stepping on them.
- Work Slowly and Methodically: Rushing the process can lead to accidents or damage to the subfloor.
Step-by-Step Removal Process
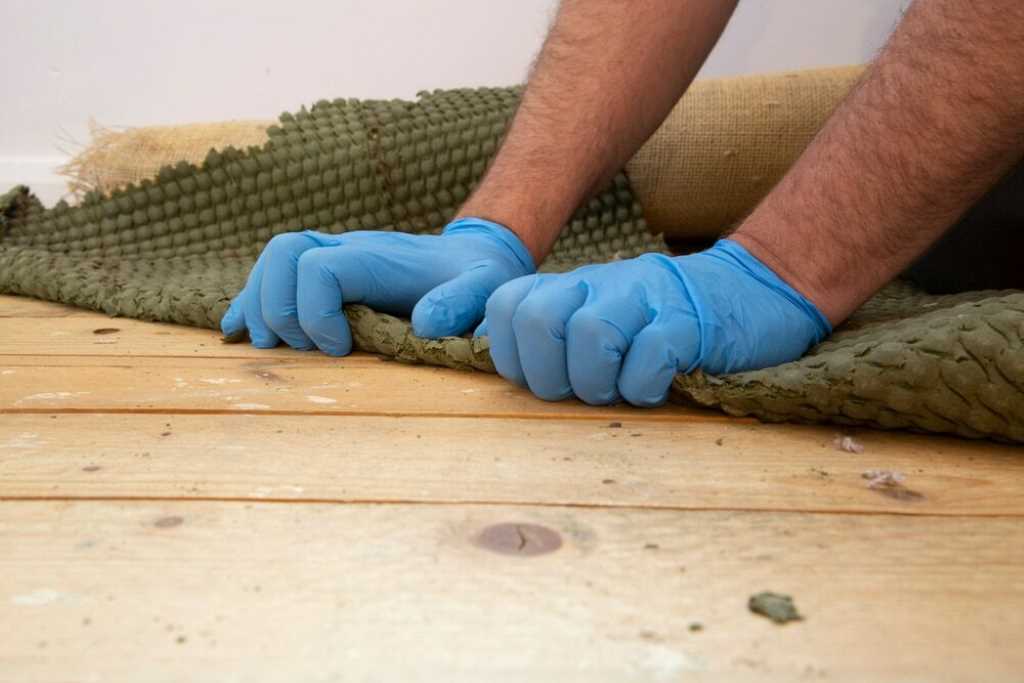
- Locate the Grippers: Carpet grippers are typically installed around the perimeter of the room, against the walls.
- Start at a Corner: Begin at one corner of the room where the gripper strip ends.
- Insert the Pry Bar: Gently slide the flat end of the pry bar under the edge of the gripper, close to a nail or tack.
- Apply Leverage: Slowly and carefully apply pressure to the pry bar, lifting the gripper away from the subfloor. You may need to tap the end of the pry bar with a hammer for extra leverage.
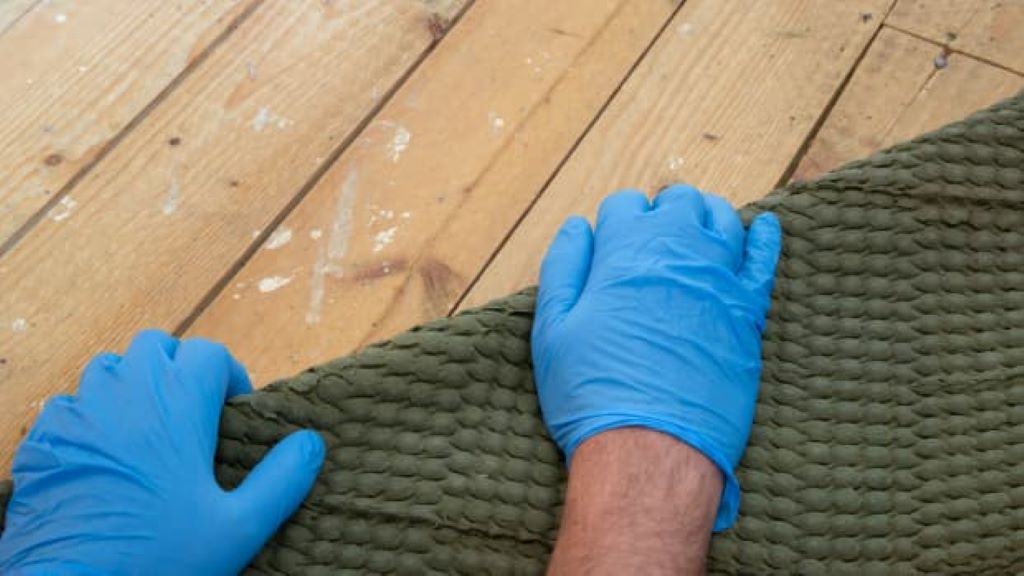
- Remove Nails: As the gripper lifts, some nails might come out. Use pliers or vice grips to remove any remaining nails or tacks.
- Continue Along the Wall: Move along the wall, repeating steps 3-5 until you’ve removed the entire gripper strip.
- Repeat for Other Walls: Work your way around the room, removing all the gripper strips.
Additional Tips
- Stubborn Grippers: If a gripper is particularly stubborn, try using a longer pry bar or a specialty tool like a cat’s paw.
- Damaged Subfloor: Be prepared for minor damage to the subfloor from the nails. This can usually be repaired easily.
- Disposal: Dispose of the gripper strips and nails responsibly.
- Seek Professional Help (If Needed): If you’re unsure or uncomfortable with the process, don’t hesitate to consult a professional.
Alternative Removal Methods
While using a pry bar is the most common method, there are alternative techniques:
- Shovel: Some professionals use a shovel to quickly pry up gripper strips.
- Floor Scraper: A floor scraper can help remove stubborn gripper remnants.
Important Considerations
- Subfloor Type: The type of subfloor (concrete, wood, etc.) can influence the removal process. Be mindful of the appropriate techniques for your specific subfloor.
- Glue: In some cases, grippers might be glued down. Additional steps might be necessary to remove the adhesive residue.
Conclusion
Removing carpet grippers might seem daunting, but with the right tools, safety precautions, and a step-by-step approach, it’s a task most DIY enthusiasts can tackle. By following this guide, you’ll be well-equipped to remove those grippers and prepare your floor for its next chapter, whether it’s new carpet or a different flooring material. Remember, prioritize safety, work patiently, and don’t hesitate to seek professional help if needed.