Do you want to extend the life of the brushes, brushes, and rollers that you use to paint? Here are some small tricks to learn how to clean paint brushes.
The first thing to do, once the task of painting is finished, is to clean the tools you have used. So we recommend that you do not leave it again for “tomorrow”!
How to clean paint brushes?
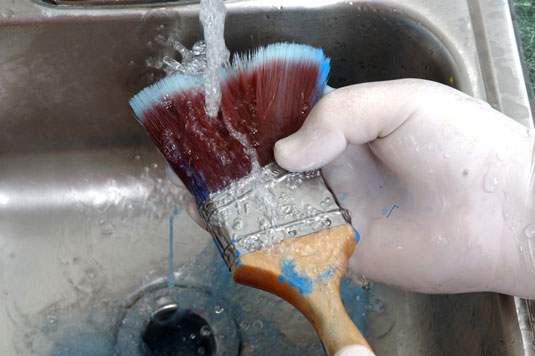
First of all, you should take into account the type of paint you have used. If you have used latex paints, ecological paints and whitetails, that is, water-based products, you will only have to wash your tools with soap and water.
In case you have used oil paints, with pigments and synthetic enamels, that is, solvent paints, you should opt for solvents and turpentine.
Insert the brushes or rollers in a bucket with solvent and let it work for a few minutes until the paint peels off. You can remove the solvent with the tools themselves to accelerate the process.
Once they are free of paint, wash them with soap and water, and let them dry very well. They will be impeccable! I have kept my brushes without cleaning, and now the bristles are dry, what do I do?
Calm down! There is still hope!
- Insert the tools insolvent until the paint softens (it will take a few hours).
- Rub the tools with old newspaper to remove the remains of paint.
- Wash them with soap and water, let them dry, and that’s it!
- If the solvent does not work, try the paint stripper.
- Soak the utensils in a stripper for a few minutes by rubbing with a root brush.
- When the paint remains have softened, dry on newspaper.
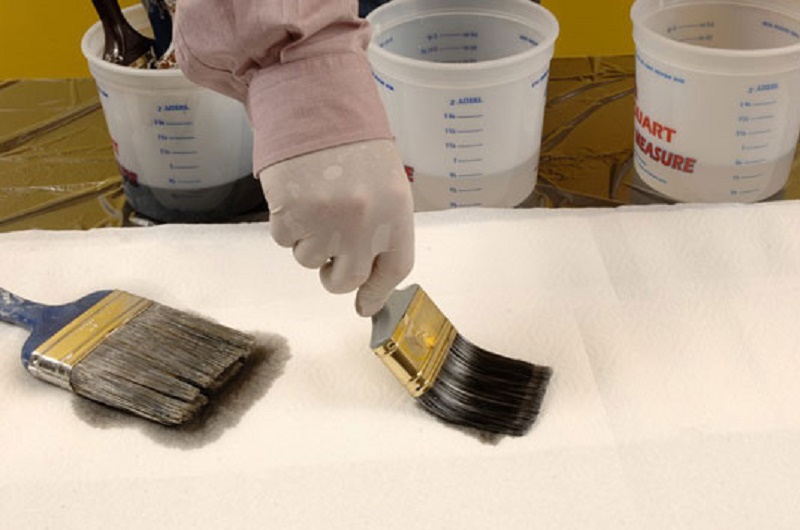
We have finished our painting work, we are very tired, and we still have to clean and collect everything. Removing plastics and bodybuilder’s tape can wait, but cleaning brushes and rollers should be done right after we finish using them. If we do not do it, they will not be in good condition the next time we want to use them.
If the brushes and rollers are going to be used the next day and without much time, it will be enough to place them inside containers with clean water. Take always in the case of plastic paint or with oil (in case of synthetic enamels), making sure that they do not support their bristles or fibers. So, they do not deform. There are some supports in the market that can help us with this. They serve for when we are painting, and we do not know where to support the brush and also for when we want to leave it submerged.
Tips for cleaning painting brush and rollers
If we are going to store them for a while, it is essential to remove all the paint. When they dry, it will be much harder to clean them properly (although not impossible).
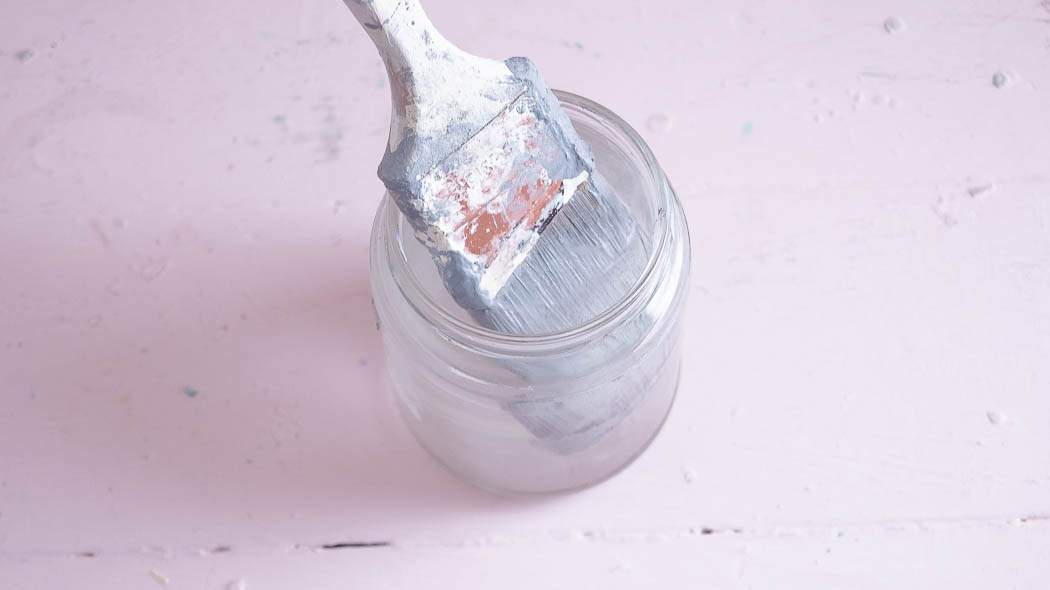
Submerge in water
Both brushes and rollers should be immersed in the liquid suitable for diluting the paint in question (water or turpentine) and stirred, squeezing several times until it is appreciated. There should not be any traces of paint at the base of the bristles. With the rollers are proceeded in the same way except for those that have a removable lining, which is removed to facilitate cleaning). The enamels are removed from brushes and rollers with turpentine, turpentine or universal solvent. However, plastic paints are removed by diluting them in water.
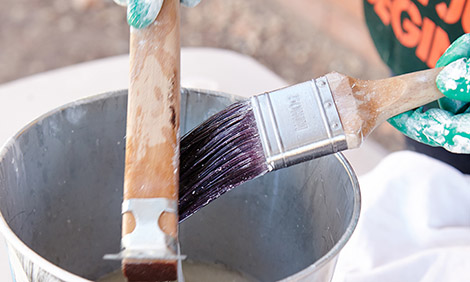
Soak in soap and rinse
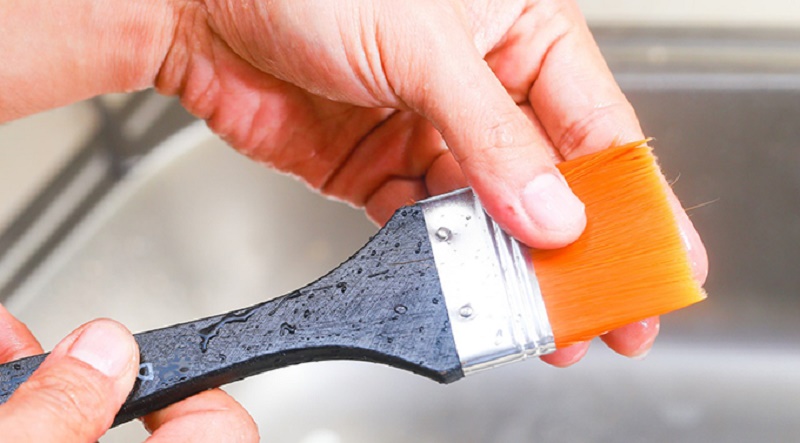
Then, whether water or solvent has been used to clean them, they are all immersed in soapy water or detergent, facing them, squeezing them with your fingers and then clarifying them. Especially in the case of brushes and rollers that have been cleaned with oil or solvent. It should be washed thoroughly with soap and water, rinsing for a long time to remove any remaining product, as it may affect the adhesion of the paint applied.
About the type of soap, those that work best are those of a lifetime pill. The soap with which it was washed before, which allows the bristles to be rubbed against it and impregnated with soap easily.
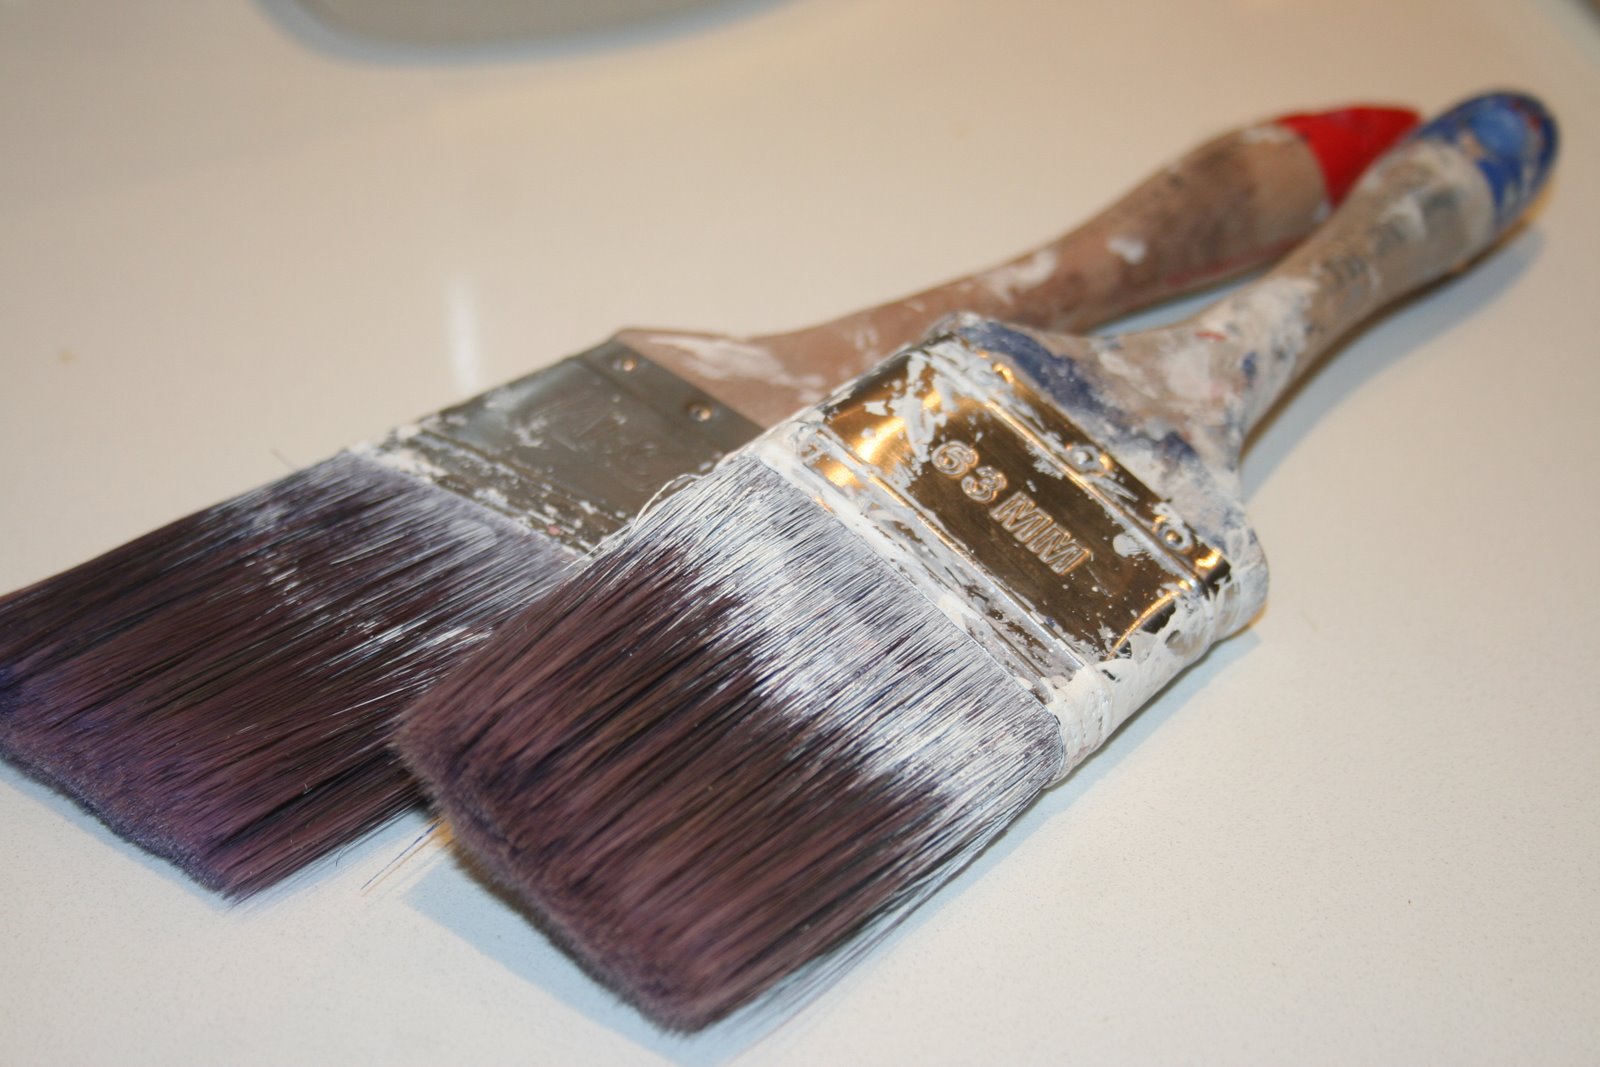
Dry
It only remains to let them dry. The ideal method is to leave them suspended, so they do not deform. The first thing is to eliminate the dry and hardened paint by immersing it for hours in suitable diluents (remember, water if it is plastic paint or glues and turpentine or thinner in the case of synthetic glazes). Once the paint has softened, you can scrape it with the spatula to remove the remains of paint. If the solvent has not solved the problem, you can try with the stripper but this time submerging it only a few minutes.

